
Desserts
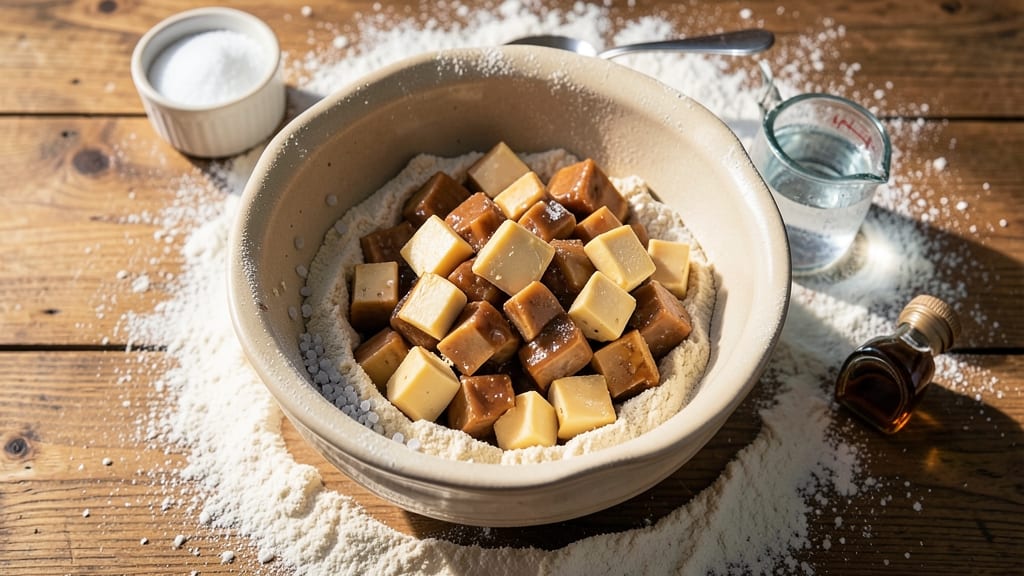
This apple pie crust recipe transforms simple ingredients into layers of golden perfection without a food processor. The secret lies in manual techniques—using just two knives or your fingers—to create flaky, tender layers that stay crisp even after baking.
After years of perfecting this method, I've developed a foolproof approach that delivers restaurant-quality crust every time, with no shortcuts that sacrifice texture.
What makes this recipe special is the emphasis on proper chilling and handling to prevent shrinking or cracking. Cold butter creates steam pockets during baking, while careful rolling and fitting ensure even thickness.
The crust achieves that signature flakiness through a two-step mixing process that distributes fat evenly without overworking the dough. This is the kind of crust that holds its shape, stays golden, and doesn't turn soggy under apple filling.
By following these precise techniques, you'll end up with a pie crust that's crisp on the edges and tender in the middle, with that perfect balance of buttery richness and subtle sweetness. The beauty of this method is that it requires no special equipment—just patience and attention to detail.
Once you master this foundation, you can confidently build any pie with a crust that rivals professional bakeries.
Whether you're making classic apple pie or experimenting with new fillings, this crust forms the perfect base. The instructions walk through every step, from mixing to baking, ensuring you achieve professional results at home. Let's get started on creating your golden, flaky masterpiece.
Ingredients for apple pie crust recipe no food processor
Eight simple ingredients create golden, flaky layers without a food processor.
| Ingredient | Amount | Notes |
|---|---|---|
| All-Purpose Flour 🌾 | 2 ½ cups | Sifted for even texture |
| Unsalted Butter 🧈 | 1 cup | Cold, cubed (not softened) |
| Ice Water 💧 | ½ cup | Chilled in freezer |
| Granulated Sugar 🍚 | 1 tbsp | For slight sweetness |
| Kosher Salt 🧂 | ½ tsp | Diamond Crystal preferred |
| Vanilla Extract 🍯 | ½ tsp | Optional, for depth |
| Large Egg Yolk 🥚 | 1 whole | For binding (optional) |
| Cornstarch 🌾 | 1 tbsp | For tenderness (optional) |
The butter is non-negotiable. European-style butter (like Plugrá or Land O'Lakes European) has higher fat content and gives better flakiness. Grab it from the dairy case—it's usually near the regular butter. If you can't find it, stick with unsalted butter (the salted kind can make the crust too salty). Keep it cold—this is the secret to those perfect steam pockets. I always buy a pound and cube it myself, wrapping each piece in parchment before freezing. For flour, King Arthur or Gold Medal are my go-tos—they're consistent and reliable.
No egg yolk? Skip it or use 1 tbsp milk—it's not essential, just helps with binding. Short on cornstarch? Extra flour at the same amount works fine. The vanilla is totally optional, but I always add it—it rounds out the buttery flavor beautifully. For the sugar, brown sugar at half the amount gives a deeper caramel note. And if you're worried about overworking the dough, trust me: two knives or your fingers are all you need. No food processor, no problem.
This dough keeps for 3 days in the fridge, wrapped tightly in plastic. For longer storage, freeze portions for up to 3 months. I like to roll it out ahead and freeze between parchment paper—just thaw before baking. The secret to golden crust? Egg wash (1 egg yolk + 1 tbsp water) brushed on before baking. And if it cracks? Don't panic—just patch it with extra dough. It'll still taste amazing.
Why You'll Love This Recipe
- No Special Tools: I swear by this crust because it only needs my hands and a bowl—no food processor, no fuss. Cold butter and ice water do all the heavy lifting while I mix in the sugar and salt, resulting in flaky layers without the mess.
- Butter So Rich: That cold, cubed butter cut into the flour? Pure magic. The sugar adds just enough caramel sweetness to balance tart apples, while the kosher salt keeps every bite from being cloying. It’s the kind of crust that makes you pause mid-slice.
- Pie or Hand Pies: Use it for a classic apple pie, sure, but I’ve also turned it into hand pies and pot pies—same crust, endless possibilities. The dough’s forgiving texture means I can roll it thick or thin, no matter the occasion.
- Budget-Friendly Staples: Flour, butter, sugar—these are pantry basics that won’t break the bank. A single batch stretches for multiple pies, and leftovers freeze beautifully. Honestly, it’s the kind of recipe that makes me feel like I’m getting a restaurant-quality crust without the splurge.
Step-by-step instructions for finger-pressed apple pie crust
This method delivers a flaky, golden crust without a food processor—just your fingers and a little patience.
Mix Dry Ingredients with Cold Butter
In a large bowl, combine the 2.5 cups all-purpose flour, 1 tablespoon granulated sugar, ½ teaspoon kosher salt, and 1 tablespoon cornstarch. Whisk until evenly distributed. The sugar and cornstarch help create that perfect golden color and tender crumb.
Cut the 1 cup cold, cubed unsalted butter into the flour mixture using a pastry cutter or your fingers. Work quickly to keep everything cold—this is key for flaky layers. Break the butter into pea-sized pieces and press them into the flour until you have a mixture resembling coarse crumbs with some pea-sized butter pieces remaining. If the mixture feels too dry, that’s okay—we’ll add the ice water next.
Add Ice Water Gradually
Pour the ½ cup ice water into a small measuring cup. Add the water 1 tablespoon at a time to the flour-butter mixture, sprinkling it evenly over the top. Use a fork to gently stir after each addition, just until the dough begins to come together. The ice water is crucial—it keeps the butter cold and prevents the dough from becoming too warm, which would make it tough.
Stop adding water as soon as the dough clumps together when pressed. It should hold its shape but still feel slightly crumbly. If it’s too dry, add another teaspoon of ice water. Overworking the dough now will develop gluten, so handle it as little as possible.
Divide and Chill the Dough
Turn the dough out onto a lightly floured surface and divide it into two equal pieces, each about 1¼ cups. Shape each piece into a disk, wrap them tightly in plastic wrap, and refrigerate for at least 1 hour (or up to 2 days). Chilling relaxes the gluten and makes rolling easier. The cold dough also helps prevent shrinking when it bakes.
While the dough chills, preheat your oven to 375°F. This ensures your rolling pin and pie dish are ready when you’re. If you’re nervous about handling cold dough, let the disks sit at room temperature for 10 minutes before rolling—just don’t let them get too soft.
Roll and Press the Crust
Remove one dough disk and place it between two sheets of parchment paper. Roll it out gently into a 12-inch circle, about ⅛-inch thick. The parchment prevents sticking and makes transferring easier. If the dough resists, let it rest for another 5 minutes—it’s okay if it’s not perfectly round yet.
Carefully transfer the rolled dough to a 9-inch pie dish, trimming any excess overhang. Press the edges gently with your fingers to create a slight rim, but don’t press too hard or the crust will shrink. For extra flakiness, I like to use my thumb to create small indentations in the bottom crust before adding filling. This creates pockets for the butter to melt into, ensuring maximum flakiness.
Blind-Bake for a Perfect Foundation
Line the crust with parchment paper, fill it with pie weights or dried beans, and bake for 15 minutes at 375°F. Remove the weights and bake for another 5-7 minutes until the edges are light golden brown. The crust should look set but not dark—this prevents burning when the filling goes in.
For a double crust, repeat with the second disk. If you’re making a top crust, roll it out and keep it chilled until ready to add. The blind-baking step ensures your crust holds its shape under the weight of the filling and bakes evenly. Let the crust cool slightly before adding your apple filling—this prevents a soggy bottom.
Pro Tips For Making Apple Pie Crust Recipe No Food Processor
- Chill the Butter First: I learned this the hard way—room-temperature butter gets greasy fast. Cut that cold stick into ½-inch cubes and toss them in the freezer for 10 minutes before mixing. The flour will cling better, and you’ll end up with flaky layers instead of a dense brick.
- Cut Butter in Small Batches: This isn’t the prettiest method, but it’s the tastiest. Work in 2-3 tablespoons of butter at a time, pulsing with a fork or pastry cutter until you see pea-sized crumbs. Dumping all the butter in at once just turns your dough into a sad, sticky mess.
- Use Ice Water Sparingly: I was skeptical until I tried it—measure that water carefully. Start with 3-4 tablespoons, then add just 1 teaspoon at a time until the dough holds together. Too much water = tough crust; too little = dry, crumbly dough that won’t roll out. Aim for "just enough to bind."
- Rest the Dough Twice: Give it a solid 30 minutes after mixing, then another 15-20 minutes after rolling. This isn’t optional—it’s what keeps the crust from shrinking in the oven. Cover it loosely with plastic wrap (not touching the dough) and let it relax. Your future self will thank you.
Regional styles of these flavors
Classic New England Style
In New England, pie crusts are all about simplicity and flakiness, often made with less butter but more attention to texture. The key here is using cold, lard-heavy dough (though we'll stick with butter) and baking until the edges are deep golden brown.
I've found that adding 1 extra tablespoon of ice water helps create that signature tender crumb. Serve with cinnamon sugar on top for a nod to traditional Yankee pies. 🌟
Southern Buttermilk Crust
Southern bakers often incorporate buttermilk instead of ice water for a lighter, slightly tangy crust. Replace the ice water with ½ cup buttermilk and add 1 teaspoon baking powder to the dry ingredients.
This variation works beautifully with peach or pecan pies, and the buttermilk helps balance sweet fillings. I like to brush the baked crust with a honey-butter glaze for extra Southern charm. 🍯
Midwest Rustic Crust
The Midwest favors thicker, heartier crusts that can handle hearty fillings like rhubarb or cherry. Increase the flour to 2¾ cups for a sturdier dough, and add 1 extra tablespoon of butter.
Roll it out slightly thicker (⅛-inch to ¼-inch) and bake until the edges are deep golden brown. This style pairs perfectly with spiced apple fillings and a lattice top for that classic farmhouse look. 🏡
Pacific Northwest Herb Crust
West Coast bakers often infuse their crusts with fresh herbs like rosemary or thyme for a unique twist. Add 1 teaspoon finely chopped fresh rosemary to the dry ingredients and reduce the sugar to ½ tablespoon.
This works beautifully with pear or berry pies, and the herbs add an earthy depth that complements the region’s natural flavors. I love finishing with a sprinkle of crushed juniper berries for a sophisticated touch. 🌿
Southern California Citrus Twist
In sunny California, citrus flavors shine in pie crusts. Add zest from 1 lemon or orange to the dry ingredients and reduce the sugar to ½ tablespoon. This brightens up apple or berry pies beautifully.
For extra flair, brush the baked crust with a lemon glaze made from 1 tablespoon lemon juice + 1 tablespoon powdered sugar. It’s a refreshing take on classic pie crusts! 🍊
Deep South Spiced Crust
Deep South crusts often include warm spices like cinnamon, nutmeg, or even a pinch of cayenne. Add ½ teaspoon ground cinnamon and ¼ teaspoon ground nutmeg to the dry ingredients. This variation is perfect for sweet potato or pecan pies, and the spices add a cozy, aromatic depth.
I like to finish with a whipped cream topping to balance the warmth. 🌶️
Nutrition facts
Frequently asked questions
Why does my crust turn out tough instead of flaky?
Overworking the dough or using warm butter develops gluten, which makes the crust tough. Keep everything cold and handle the dough minimally—just until it comes together. The butter should remain in pea-sized pieces when mixed, not fully incorporated. Also, avoid adding too much water; the dough should be just moist enough to hold when pressed.
Can I use shortening instead of butter for this recipe?
Yes, but the flavor and texture will differ. Shortening creates a lighter, flakier crust that stays crisp longer, while butter adds richness and golden color. For a butter-like experience, use a 50/50 butter-shortening mix. If you prefer all shortening, reduce the water by 1 tablespoon since it requires less moisture.
How do I fix a cracked crust before baking?
Patch cracks with small pieces of leftover dough, pressing gently to seal. For a quick fix, brush the cracks with a little beaten egg or milk and sprinkle with flour or sugar. If the cracks appear after baking, don’t worry—they won’t affect the taste! Just cover them with a lattice top or extra filling.
What’s the best way to prevent a soggy bottom?
Always blind-bake the crust for 15-20 minutes before adding filling. Let the crust cool slightly after baking, then add the filling. For extra insurance, sprinkle 1 tablespoon cornstarch or crushed graham crackers on the bottom crust before filling. Pre-cooking the apples also releases moisture, reducing sogginess.
Can I make this crust ahead of time?
Shape the dough into disks, wrap tightly, and refrigerate for up to 2 days. For longer storage, freeze the disks for 3 months. Thaw in the fridge overnight before rolling. Pre-rolled crusts can also be frozen between parchment paper—just thaw and bake as directed.